7/22/12
From Baby Nursery to Airy Guest Room
As much as I dislike painting, I sure am good at finding rooms to paint. The guest room in Drew's house was the previous owners' nursery. As sweet as it was, I needed to stop giving my friends an excuse for asking when our babies were coming to fill the nursery. NO babies for awhile!!
As I moved out of Athens this weekend and knew I was moving my furniture into that room, we suddenly had a short time span to get the room ready! We certainly couldn't draw it out as long as the kitchen fiasco! So from Thursday- Sunday, we quickly gave the room a facelift. This would have been an even faster process if we had gotten Valspar paint like normal. We got much cheaper paint and paid the price by using twice as much and doing, get this, 3 coats!!! Ughh frustrating. Lesson learned.
Also, there was a rough-looking chair rail in the room we had to remove which included removing the nails under them, which incidentally did not remove. After struggling with these long, flimsy nails stuck in the wall, we ended up snapping them off at the wall with a vice grip, using a nail punch to put them in the wall a little more, putting putty on the holes, and sanding down the outline of the paint. The 2 different colors and the chair rail strip really didn't make painting with a light color easy either. Man, what seemed like a simple task turned into a pile of challenges. But we learned a lot and I'm pretty happy with how it turned out!
 |
| Before |

 |
| Trim |
 |
| I decided to paint over the chair rail area a bit first just for insurance |
 |
| First coat (blehk!) |

 |
| Finished!! umm the bed looks huge in this pic |
 |
| We hope to get a new bedspread in the future. I'm thinking lime green accents? |
 |
| Color: lemon ice |
6/4/12
Kitchen Makeover
The painting of the kitchen has been a long, drawn out process but it my opinion, it was totally worth it. My fiance might feel differently considering I have left his kitchen in disarray for weeks at a time. Alright, from start to finish, here we go:


 |
| The dark red needed a couple of coats of primer |


 |
| It's so satisfying when it is time to remove the tape! |


 |
| I have to get Drew to get the last of the tape, I can't quite reach :) |

5/29/12
Cover up
So I saw this on Pinterest about a month ago and freaked out about how cool it was:
http://pinterest.com/pin/153685406004270600/
Then I ran up on a tutorial for one!: http://laviediy.blogspot.com/2012/02/diy-20-minute-beach-cover-up.html
With our beach trip coming up, I set out to make my own! I bought lime green jersey fabric and started work. Especially considering I have no experience in sewing, this was an easy project. Measurements were straight forward, there was room for error, and the straps were easy to make. My little sister helped sew on the straps. It turned out just how it was supposed to.
And yet, I hate it. It looks like a sheet/toga mess. It probably doesn't help that I had these colored jersey sheets in college. Anyway, I took it to the beach and just felt silly in it. I saw another girl with a black one bought from the store and it looked super cute. Maybe I should've chosen a darker color but I was trying to be summery! Oh well. I gave it a shot.
4/22/12
Magazine Holder Shelf
http://www.designsponge.com/2011/05/diy-best-of-shelving.html
I made this last year when I moved into my new apartment. I needed something for the other side of the bed to hold drinks, my phone, whatever.I bought a cheap magazine holder at Michaels, painted it with acrylic paint, a screwed it in sideways to the wall. It's actually really steady and has been very useful!


4/12/12
Race Bib Display
For those of you are tracking my crafting goal of doing one project a week, I haven't been slacking, I just haven't been posting! However, the priming of the kitchen has been a time consuming, on-going project because I only have time to do it in spurts when I'm over there. More of that later though. Last week I made this race bib display for my sister's birthday. She is a hardcore runner and I thought this would be a good way to display her accomplishments.


3/26/12
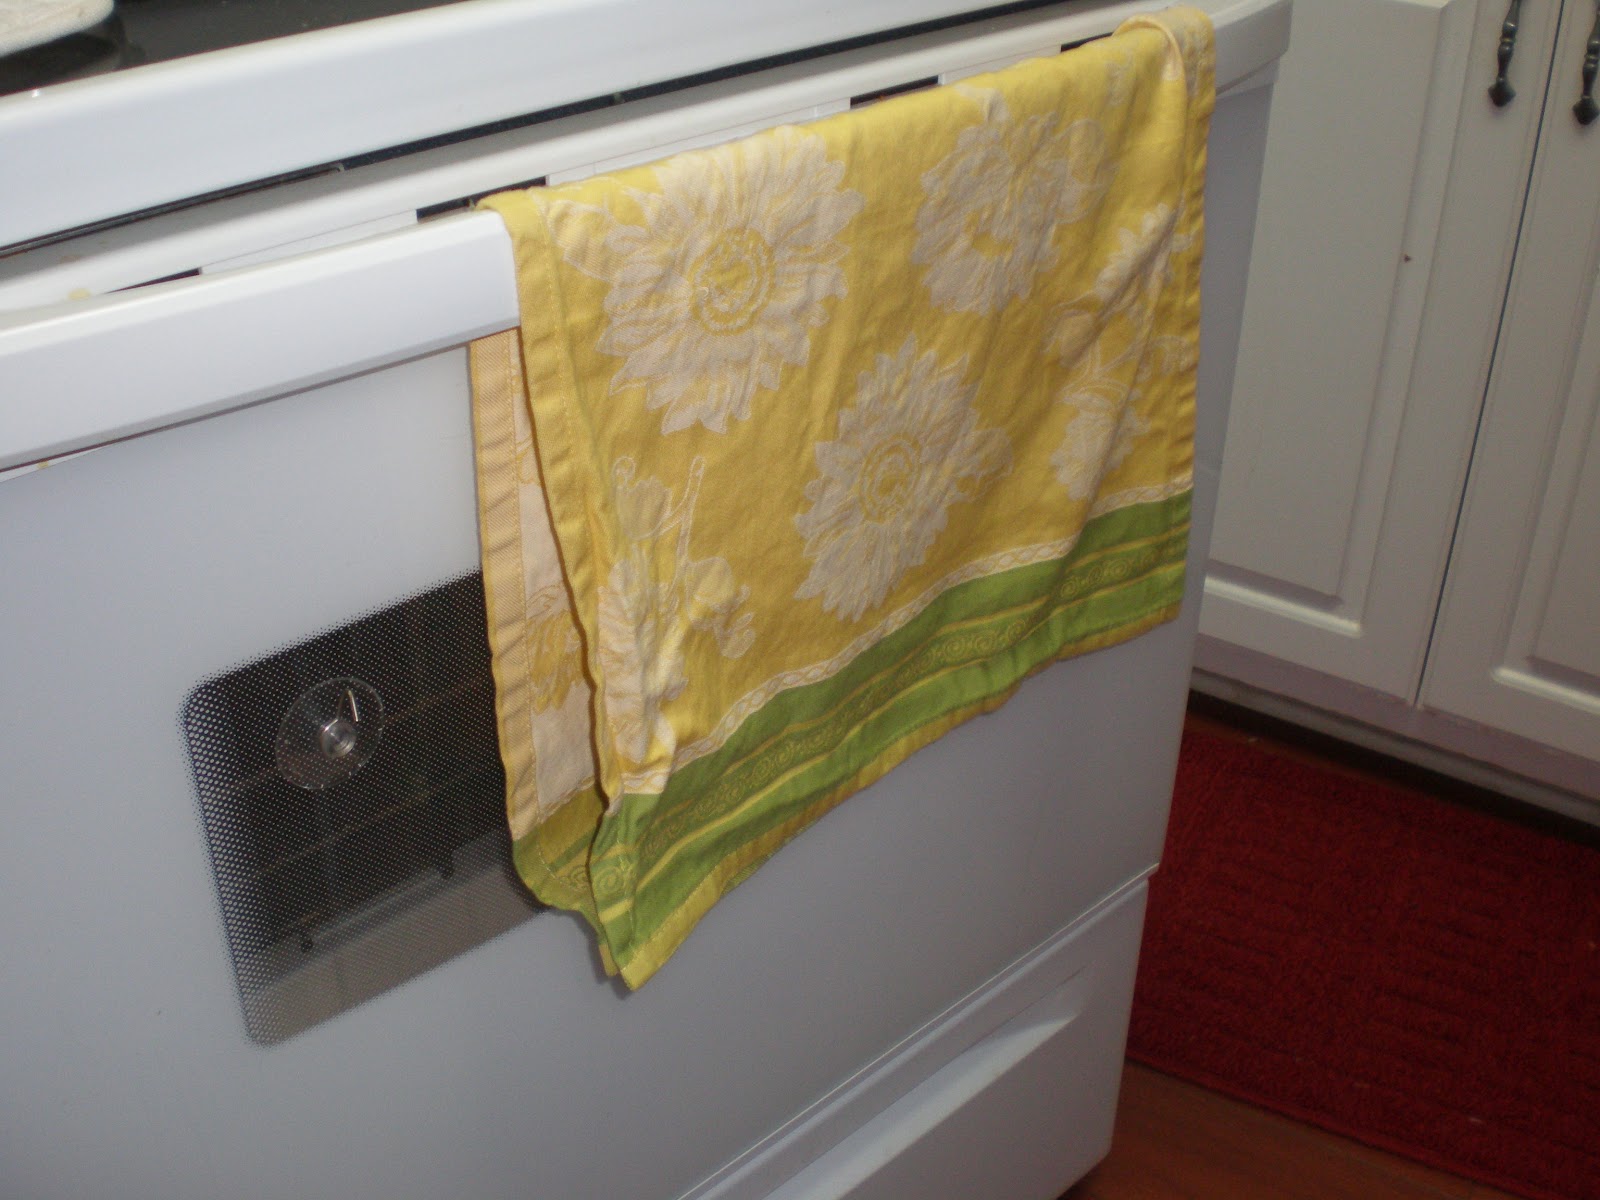
Velcro Dish Towel
http://www.marthastewart.com/274787/25-kitchen-organizers/@center/276989/organizing#slide_15
Super simple! Just pick out a dish towel, attached some velcro to it, and keep the towel from falling off the oven door! Easily remove it whenever you need.

3/21/12
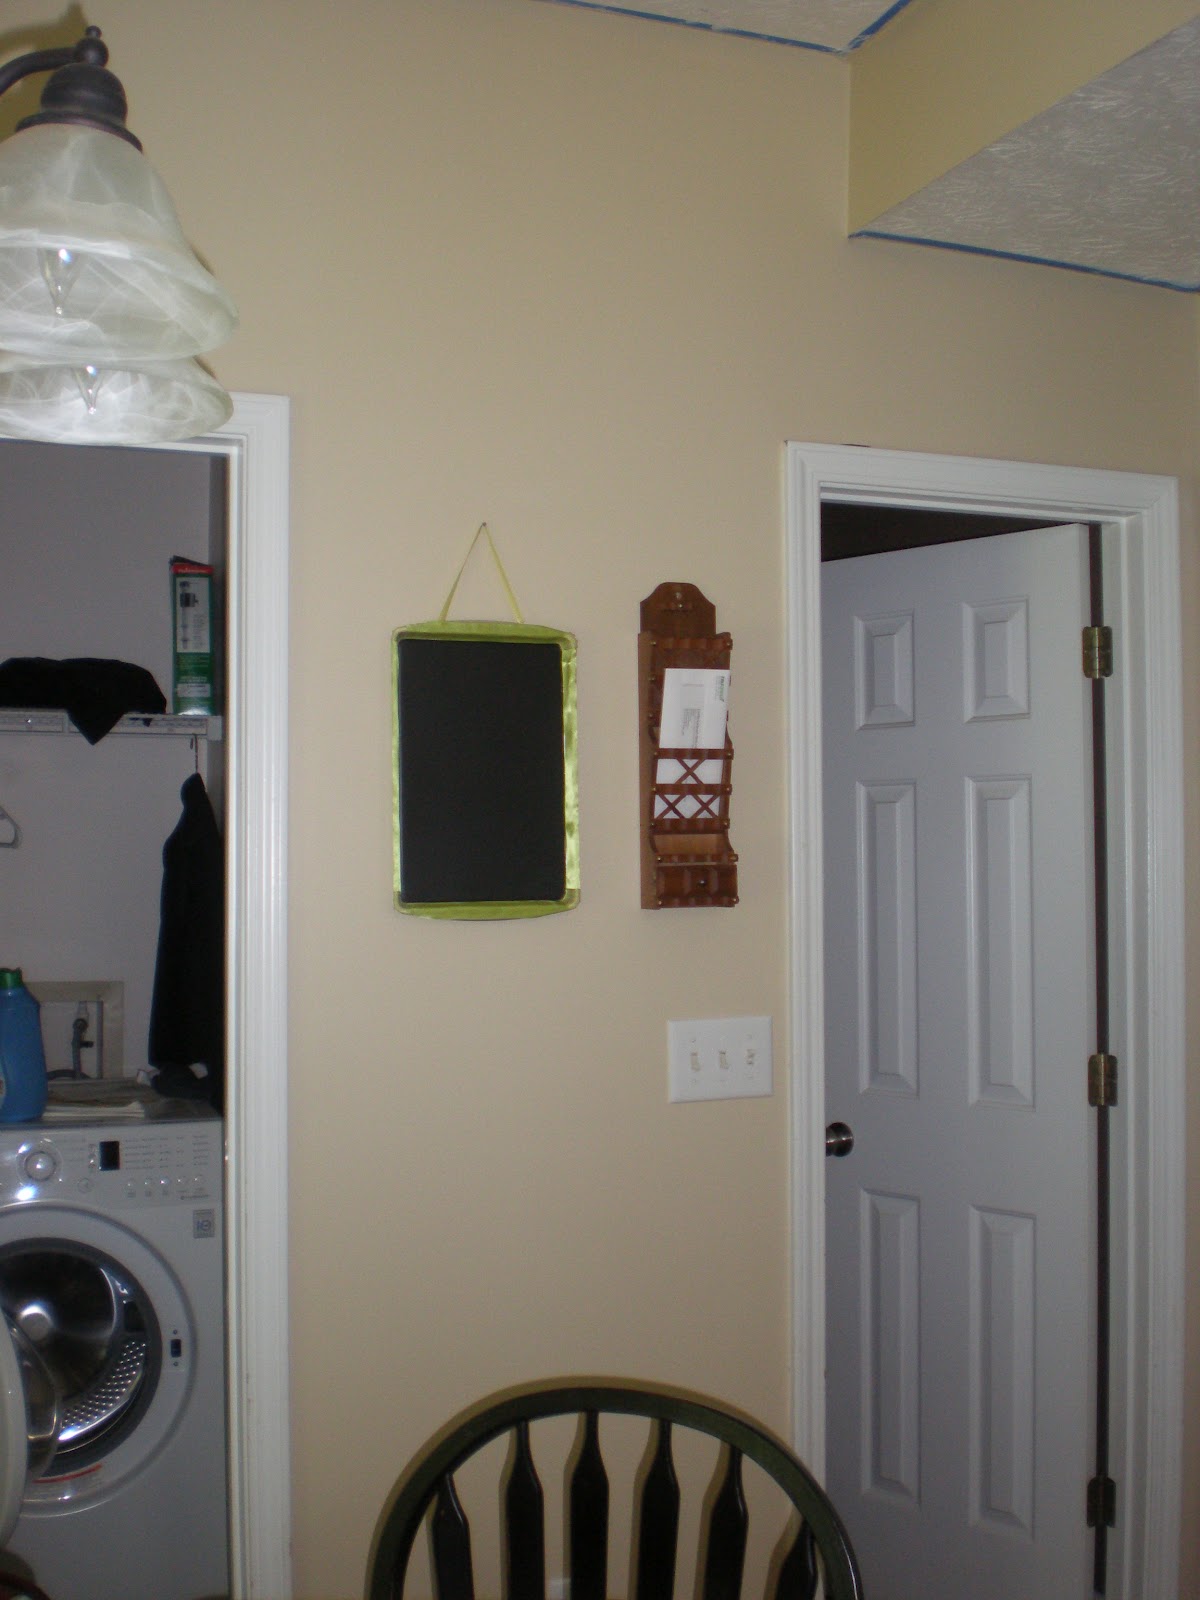
Magnetic Chalkboard Cookie Tray

I wasn't really sure what to call this! I combined a couple of ideas I saw on Pinterest and came up with this for the kitchen. It is magnetic and can be written on with chalk. I bought a super cheap cookie tray, taped the edges, spray painted it with chalkboard paint, took off the tape, glue ribbons on for a decorative board, and glued on a ribbon to hang it on the wall with. If I had bought a decorative tray, I wouldn't have decorated it but, this works too! I'm excited it is magnetic so I can post little notes on the board as well as jot down notes with chalk.
There is a bubbly spot on the bottom right of the board from something that went wrong with the paint. I'm probably going to make a little pocket here where I can store the chalk. I'll post a new photo once that's done.
Gift idea

I made this a few months back for a white elephant gift. I just bought a cheap frame from Michaels, painted it black, screwed in some hooks, and put a flower on for a little feminine touch! I had to get my dad to help me clip off and file down the screws on the back of the frame that were poking through. It came out to be a pretty cheap and cute gift I think!
2/10/12
Dining Room
Drew has generously (and wisely) given me permission to paint his downstairs. I don't mind how the dining room looks but I strongly dislike....ok I hate the color of the kitchen. The problem is, I am planning on painting the kitchen a similar color to the dining room so, domino effect, I had to paint the dining room first! I don't have a good before picture but here is one where you might be able to see the 3 colors that are downstairs:


2/9/12
Doily Canvas
My roommate and I made a collection of these in different colors to hang on the wall in our apartment.
I combined this concept: http://hamblyscreenprints.typepad.com/screen_prints_blog/2009/09/new-stuff-a-tutorial.html
With this technique: http://ashleyannphotography.com/blog/2009/11/21/diy-doily-canvas-bag/
I used temporary adhesive spray to hold the doilies in place. Here's what we got!

We're hoping to get a back drop to make the colors stand out a bit.
No-Sew Pillows
This was something I attempted after I found the idea on pinterest. You can go here for directions: http://organizeyourstuffnow.com/wordpress/?p=19110
Mine did not turn out as magnificent as there's but I tried! I had to used small safety pins to old the fabric together under the knot. Well, I gave it a shot!


Wall Canvas Decor
2/9/12
I got this idea from an episode off of HGTV. They made a frame and used batting but I got these large canvases on a great deal at Michaels, so I took a short cut! Then, I just picked out my fabric, wrapped it around the canvases, and used a staple gun to attach. The frame makes it easy to just hang it up with nails! Super simple.


No comments:
Post a Comment